Introduction
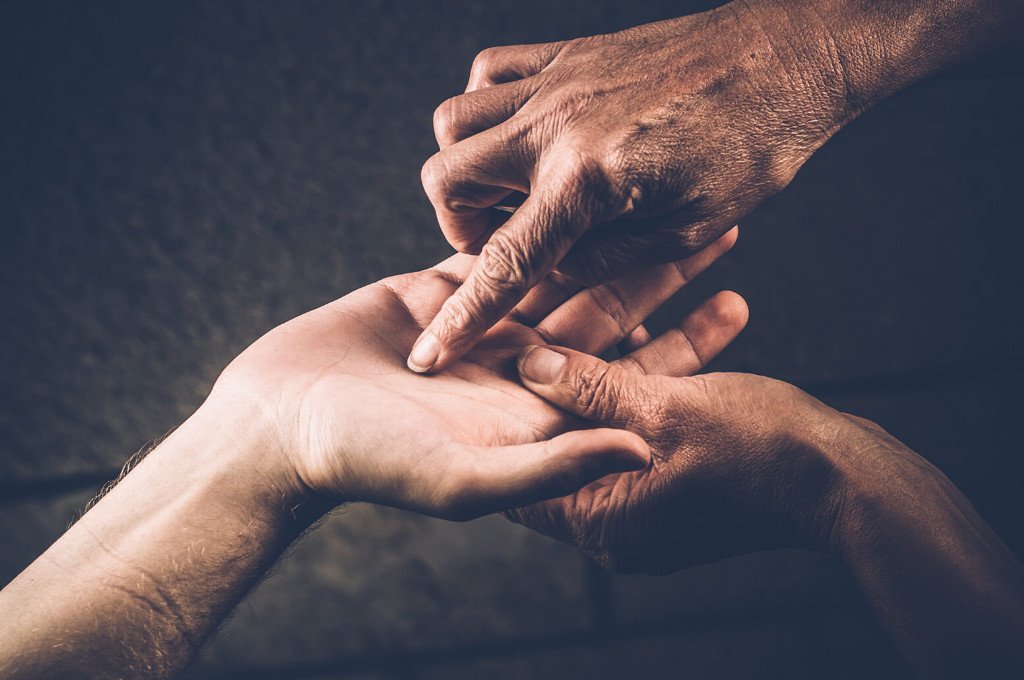
Are you fascinated by palmistry and want to capture the perfect palm picture for accurate readings? Look no further! In this blog post, we will guide you through the process of taking a clear and detailed photograph of a palm. With these simple tips, you will be able to provide accurate palmistry readings for your clients.
Section 1: Preparing Your Camera and Lighting
The first step in capturing the perfect palm picture is to ensure that your camera is ready and your lighting is optimal. Here’s what you need to do:
- Use a high-resolution camera: To capture the smallest details of the palm, use a camera with high resolution. A smartphone with a good camera can also work!
- Choose natural lighting: Avoid using flash as it can create harsh shadows and distort the lines on the palm. Instead, utilize natural lighting for a more accurate representation of the palm.
By following these steps, you will be well on your way to capturing a clear and detailed palm picture.
Section 2: Positioning the Palm
Now that your camera and lighting are set up, it’s time to position the palm correctly for the perfect shot. Follow these tips:
- Ask the client to relax their hand: A tense hand can create visible lines and creases on the palm. Advise your client to relax their hand before capturing the picture.
- Ensure the entire palm is visible: Position the palm in such a way that all the lines, mounts, and other important features are fully visible in the frame. This will help you analyze the palm more accurately.
Remember, a well-positioned palm can make all the difference in capturing an effective palm picture.
Section 3: Aftercare and Editing
Once you have taken the palm picture, it’s time to take care of a few additional steps:
- Review and edit: Take a close look at the picture and make any necessary edits to enhance the clarity of the palm. You can use photo editing software to adjust brightness, contrast, and sharpness.
- Save and organize: Create a separate folder on your computer or cloud storage to store all your palm pictures. Organize them by client name or date for easy access and reference.
With these post-capture steps, you will be able to provide your clients with accurate and well-documented palmistry readings.
Conclusion
Taking the perfect palm picture for palmistry doesn’t have to be a daunting task. By following these simple tips and tricks, you will be well-equipped to capture clear and detailed palm pictures that enhance your palmistry readings. Remember, practice makes perfect, so don’t be afraid to experiment with different camera angles and lighting setups.


